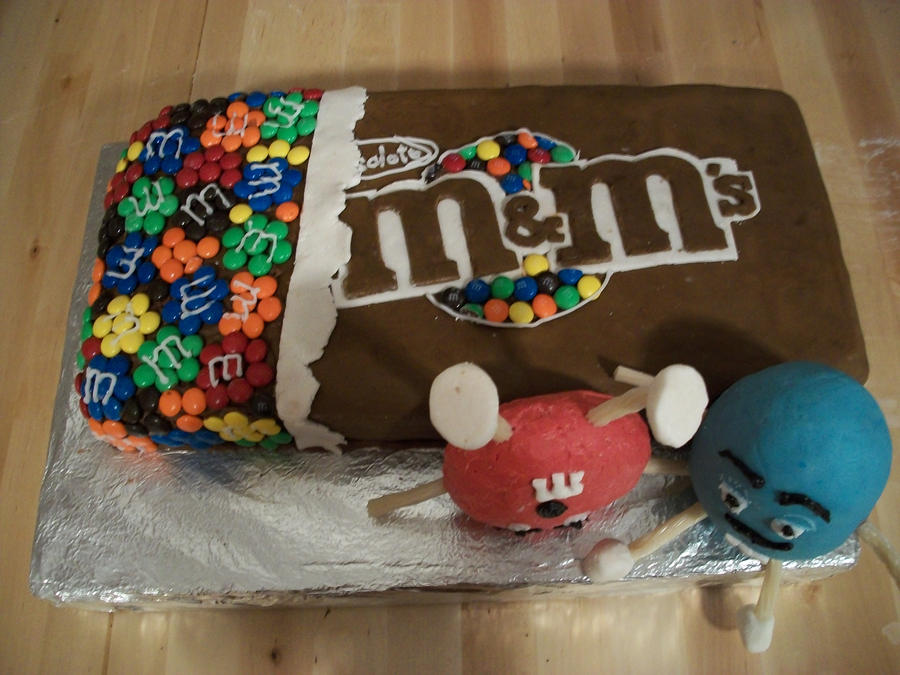
So, I have an older sister. Her birthday is in February and she is a huge M&M’s fan. Although fan may be an understatement... In any case, for her birthday she wanted an M&M themed birthday cake. She showed me various ideas and pictures of other peoples versions of themed cakes. I decided I would make her cake look like an M&M package. (Man, I am getting really annoyed with writing/typing M&M.) I also wanted to make the M&M Characters sitting on the cake. This was the end result.
This was a chocolate cake, again make from scratch. Could a cake based on candy coated chocolate be any other flavor? This one just had a plain chocolate icing since big gatherings call for no peanut butter. Again I used the marshmallow fondant, but I modified it a bit this time. I come from a family where certain people are really natural. They don’t like artificial sweeteners and food colours and other such things. I feel the same way about these things. I believe aspartame is really not good for the body, and neither are the chemicals in food coloring. (mini rant over) But M&M packages are dark brown. The little big of food colouring I would consider using just wouldn’t cut it. So, here is my chocolate marshmallow fondant recipe. (I have since learned I can just use chocolate paste…) Pleaase keep in mind this makes the whole batch of fondant brown.
Chocolate Marshmallow Fondant
4 cups mini marshmallows
3 cups icing sugar (plus some extra for dusting)
1 cup cocoa
2 tbsp water
Food colouring
1. Put the marshmallows in a microwave safe bowl, add the water and stir so all the marshmallows get damp. Microwave for about 60 seconds.
2. Add the cup of cocoa and any additional food colouring (depending on how dark you want the brown) Give the marshmallows a stir.
3. Keep adding icing sugar until you can’t stir it anymore. For me it’s usually about a cup, or a cup and a half before I dump it out of the bowl.
4. Dump it onto a surface that is dusted with icing sugar. Start to knead the fondant, adding more icing sugar as needed. Once the fondant is a nice smooth ball it is ready to be used.
So the first step to making the cake is stacking it and icing it. In this case I had to do a bit of carving. I tapered the cake at the end to make it look like M&M’s were spilling out. Once the cake is the shape you want you ice it all. It doesn’t have to be overly neat, but I find the icing can’t be too thick either. This is a chocolate cake with chocolate icing. Also, never forget your baking soda like I did with this one... it ends up kind of dense. But that's what I get for rushing right?
So I iced it and covered it in a plain layer of fondant. After that I used some of the white fondant to make the tear in the package, which was a long piece of fondant cut straight on one side and jagged on the other. I found a picture of the M&M label on the internet which I zoomed in on and traced it out on tracing paper. I then used that as a template to cut the lettering out of fondant. Then I added the M&M background using mini M&M's. I piped the smaller details with royal icing. Then, using the mini M&M's again, I made bigger M&M's which I piped the M's onto. '
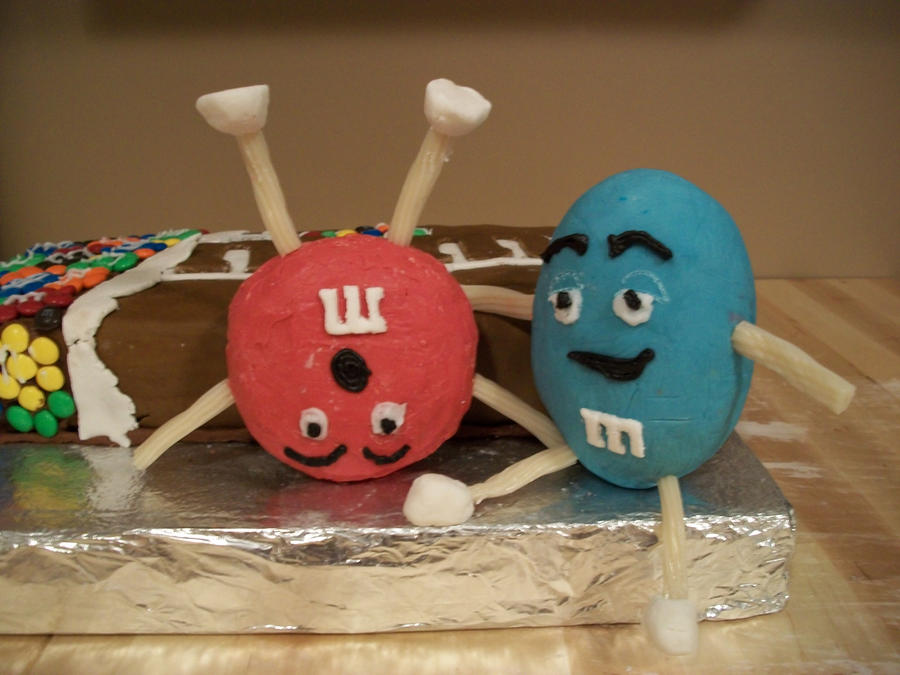
The figurines were made out of rice crispy treats. The blue one was covered in blue fondant and the red one was covered in chocolate. Then I piped their faces on and cut an M out of fondant. The arms and legs were made of some Tropical licorice that I found at the local Bulk Barn. Then I made some shoes out of white fondant.
I must say I was pretty happy with my second try at making a fondant cake. Everyone at the party loved it!
No comments:
Post a Comment